| |
Recreating .t3d file materials


|
|
If
you've ever downloaded a Swift3D file with a cool bitmap
material in it, you may not be aware that it
doesn't automatically add it to the material library.
Sure, you can click on the objects material and edit it - but
you can't save it. Wouldn't it be great if there were
a simple way to get the image out of that bitmap material
and be able to add it to your library for use in other
projects? Well you can and it's not as hard as you think!
This
tutorial describes the process of recreating materials
from .t3d files when the material (.t3m) file itself
has not been supplied.
So how do we do it? |
Step
1 - Setting up the workspace

 |
|
With
the desired .t3d file open, we will set up the workspace
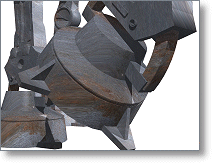
to make this a fast and simple process. Create a camera
and zoom in to a section of the object that has the
bitmap material you want to recreate on it. This will
come in handy when we are ready to go! |
 |
|
Set
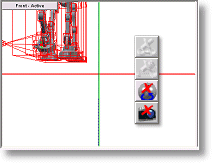
your left editor window to front view. Now reset the
view (in case the file front view was moved from the
default settings) by clicking the bottom two buttons
next to the trackball below the window. This will ensure
you are absolutely square and centered in that view. |
Step
2 - Creating the work surface

 |
|
Now
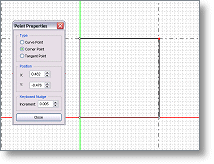
for the easy part. Create an extrusion one full unit
in size (the thicker lines on the graph represent this
unit) starting the extrusion from 0,0. This is important.
It must be one full unit square and start from the centre
so that the bitmap material aligns correctly on it.
|
 |
|
Go
back to the main editor and scale the extrusion to fit
completely within the front view window. Do not resize
it as that will affect the bitmap when applied to it.
If there are objects other than the extrusion in the
view - drag them out of view. |
Step
3 - Lighting the work surface

 |
|
Delete
all the lights that may be on the stage at the moment.
Both trackball lighting and lights that may have been
inserted into the scene. When you have done that,
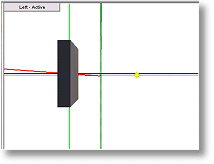
create one new Free Point Light (from
the top menu - not the Trackball) and place it squarely
in front of the extrusion as seen in the image to
the left. Untick the Specular box
from the Light Options of the light
found on the left side properties panel when you highlight
the light (it will turn red).
|
Step
4 - Creating a standard material

 |
|
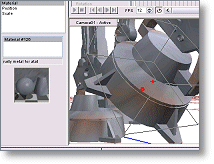
Set
your right window to the camera you created and click
the object to select it (I have selected it in the
left window so you can see what I am doing in the
image to the left). Select Material
from the object menu list on the left to reveal the
objects material panel below it. If you can't see
the Material option it is because the object must
be a group, so ungroup until you get a single object
that reveals the Material properties.
|
 |
|
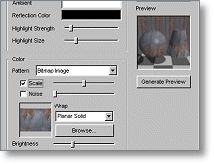
Double
click on the little Material image you can now see
and the Material Editor opens. We
will now make everything default. If these settings
are not the same then change to match: Make the Ambient
color white. Set Reflection color
to black. Turn down the Highlight Strength
and Size if they have been turned
up above default settings. Set Wrap
to Planar Solid. Reset the Scale
by unticking and then reticking the scale box but
don't touch the slider. When you have done these,
hit OK and exit the Material Editor.
|
 |
|
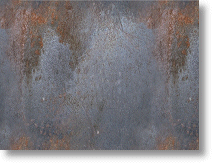
Drag
and drop the image in the little Material preview
box (the one you just double clicked in the previous
step) onto your extrusion (left click and drag). Now
go to your Preview and Export Editor
and do a Raster render as a .bmp file to see the result.
Export
the bitmap! Now it is ready to import via the Material
Editor so go ahead and create the new bitmap
material.
|
Step
5 - Completing the recreation

 |
|
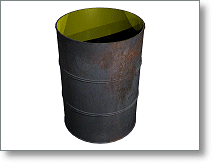
With
the newly created bitmap material in your library
you can now apply it to your own files!
|
|


